설치 후기에 이어 이번엔 홈킷 연동기입니다.
만족하며 사용중인데 메인 플랫폼이 홈킷이다 보니 홈킷에 연동 되지 않는 점이 아쉬웠습니다.
어젯밤 잠을 포기하고 삽질 열심히 해서 연동에 성공했습니다.
1.먼저 Google SDM API에서 Nest doorbell이 지원 되는지 확인했습니다.
Smart Device Management API | Device Access | Google Developers
Learn about the various methods available to view traits and execute commands on Google Nest devices.
developers.google.com

오! 있네요! 고민 없이 바로 돌입합니다.
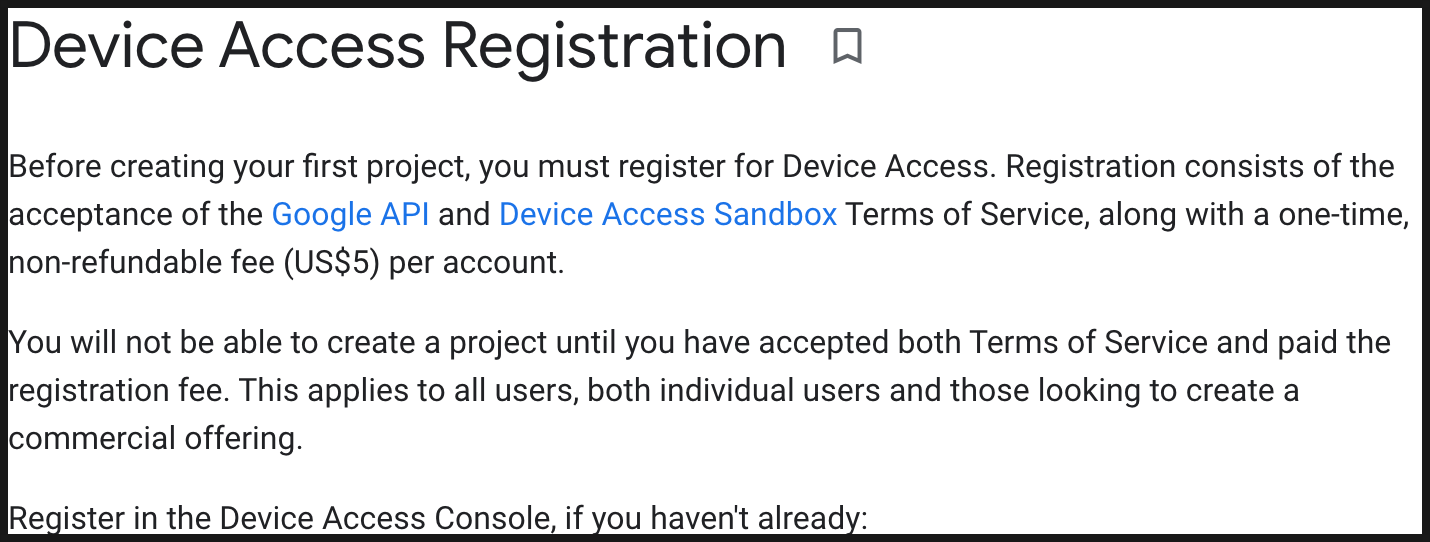
2. API를 사용하려면 등록을 해야합니다. 이때 등록비가 발생합니다.
일회성 비용 5$면 크게 부담스럽지 않습니다. 과감히 결제하고 ㄱ ㄱ 합니다.

3. 여기서 부터는 구글에서 시키는대로만 하면 됩니다.
https://developers.google.com/nest/device-access/get-started
Get Started | Device Access | Google Developers
Get started with accessing, controlling, and managing Google Nest devices through the Device Access program.
developers.google.com
단, Authorize an Account 설정 URL은 수정이 필요합니다. (아래 4번 설명 참고)
퀵 스타트 가이드를 따라서 그대~~로 진행하시면 API사용 준비는 끝이납니다.
뒤돌아 보면 간단한데 SDM API, DAC(Device Access Console), GCP(Google Cloud Platform) 을 넘나들며 설정해야 되는거라
엄청 헷갈리더라구요. 온갖 아이디와 토큰들이 쏟아져 나옵니다.
메모장에 정리해 가면서 진행하시는걸 추천드립니다.
원래 생각은 홈브리지까지 개발하려고 했는데 검색을 해보니 역시나 이미 있네요! 와우 ㅋ 개꿀입니다.
4. 퀵가이드 따라 잘 완료했다면 홈브리지 설정에 필요한 값은 이미 다 준비된 상태....인줄 알았는데....
하나 다른 점이 있네요. 홈브리지 설명에 써있는 것 처럼 Authorize an Account 설정을 할때
구글 가이드에 있는 원래 링크 뒤에 "+https://www.googleapis.com/auth/pubsub" 를 붙여서 호출 해줘야 합니다.
저거 붙고 안붙고에 따라 리턴되는 코드값이 달라집니다.
ONE IMPORTANT DIFFERENCE!

In step two "Authorize an Account" in the "Link your account" section, step 1, you are instructed to "open the following link in a web browser":

https://nestservices.google.com/partnerconnections/project-id/auth?redirect_uri=https://www.google.com&access_type=offline&prompt=consent&client_id=oauth2-client-id&response_type=code&scope=https://www.googleapis.com/auth/sdm.service

DO NOT USE THIS URL!

You should instead use this URL:

https://nestservices.google.com/partnerconnections/project-id/auth?redirect_uri=https://www.google.com&access_type=offline&prompt=consent&client_id=oauth2-client-id&response_type=code&scope=https://www.googleapis.com/auth/sdm.service+https://www.googleapis.com/auth/pubsub

Note the "+https://www.googleapis.com/auth/pubsub" on the end. This is so you will have access to events.
자 이제 필요한 모든 정보가 준비되었으니 홈브리지 컨피그에 하나 하나 입력해주면 끄읏!


5. 후기
속도가 그렇게 빠릿빠릿 하진 않습니다. Nest 허브와의 조합에서는 거의 동시~3초 정도에 반응이 오는데
한단계 거쳐서 오다보니 수십초 걸릴때도 있습니다.
먼가 설정을 잘못한건지 스냅샷도 안올라오고 스트리밍만 되네요. 이러면 나가린데...ㅎ
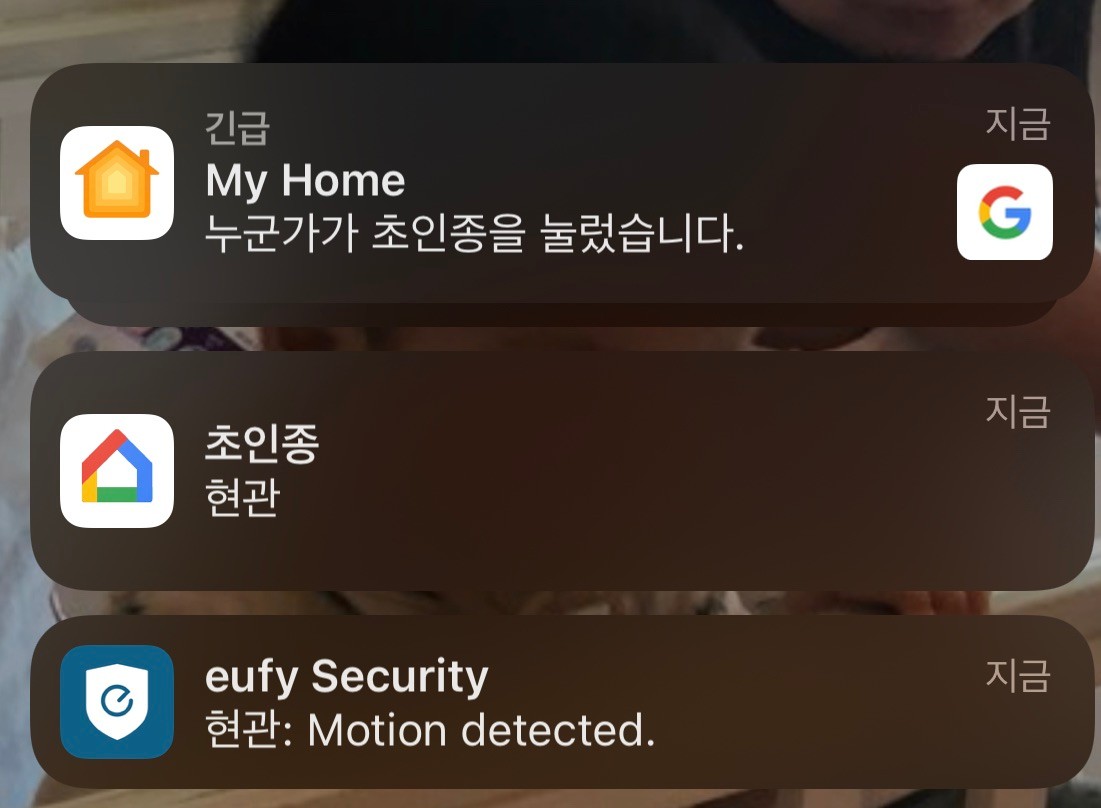
그래도 메인이 홈킷 인지라 홈팟에서 차임 울려주고 티비에 알림 올라오니 기분이가 좋네요.
*설치 후기
스마트홈 제품 키워드 검색
ORDA-스마트홈 제품 키워드 검색
orda.sizolla.shop
'스마트홈&IoT' 카테고리의 다른 글
| [애플 홈킷] 알리발 스타 프로젝터 with 홈킷 사용기 (수면등, 우주 조명) (0) | 2022.06.03 |
|---|---|
| [애플 홈킷] 홈킷 버튼으로 전화(페이스 타임)걸기 (0) | 2022.06.03 |
| [구글홈 애플 홈킷] Nest doorbell battery 설치 후기 (초인종 교체) (0) | 2022.06.03 |
| [아카라 애플 홈킷] 아카라 스마트 롤블라인드 리뷰 (0) | 2022.06.03 |
| Matter에 대해 많이 알게된 글이 있어 공유합니다. (0) | 2022.06.03 |